Are you looking to set up a forum for your website? Then Discourse will be one of the best options, becuase of open sources and security features. It supports a wide range of Linux distros from Ubuntu/Debian to CentOS/RedHat major Linux server OS. We can find them in almost every Virtual private Hosting Services (VPS), thus if someone has little bit knowledge of Linux commands S/he can easily install Discourse on servers. Yet, the procedure is quite intricate for the beginners because we can’t install this forum software on our normal Cpanel, Plex, Webmin etc. sort of hosting services. To install Discourse we need direct root access to our hosting server along with the ability to install different packages or Docker. Thus, if you are on shared hosting and don’t want to buy VPS hosting plan then you can install Discourse on Google Compute Engine, a cloud computing platform to test it out.
Now, What is Google Compute engine exactly?
You all may be aware of Google Cloud Platform which is a cloud computing service that provides a way to host and develop different web applications on Google’s managed data centres. Now, the best part, if you have not ever registered or used the Google Cloud Platform services then you have a chance to get a free $300 credit. So, a person can test different services of Google Cloud such as App Engine, Compute engine and more…
Hence, here we will show how you to get Google Cloud Computing platform’s free trial and then a way to use it for installing Discourse Forum.
Note: Here we are not using Bitnami on Google Cloud to install Discourse, rather we do all the process manually. Also, you should have a Debit or Credit card. Don’t need to worry, Google will not charge you anything it just needs to add for billing information. Moreover, we have a $300 credit for 12 Months. Also, the Google Account you are going to use to register with GCP should not be used earlier with Google cloud platform, if you want the availability of the free trial of 1year to access Google App Engine.
Step 1: Register a GCP Free Tier for Discourse
The first thing we need to have is a free trial of Google Cloud Platform (GCP) product. For that either you can search on Google for GCP free trial or just use this Link (Cloud.goggle.com/free).
Note: One more thing we are not affiliated with Google and not endorsing any of their products at all. The tutorial is solely just for knowledge purpose.
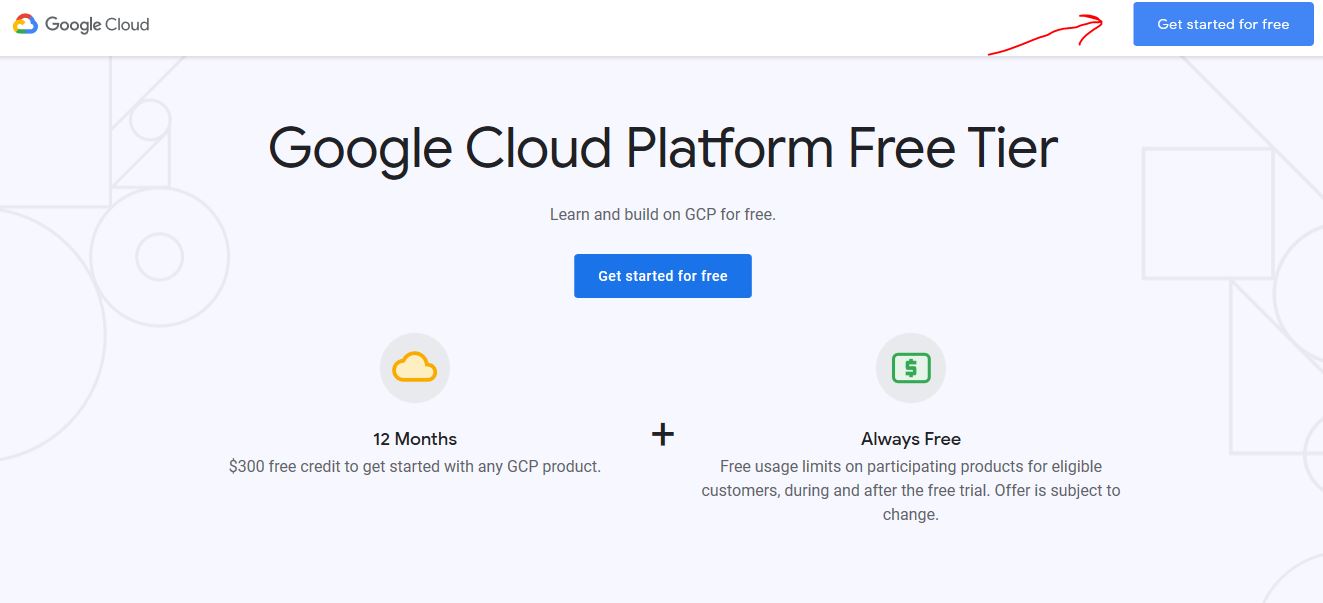
Click on the “Get Started for Free” button given on the top right to register an account with GCP. While registering, it will also ask for your Debit or credit cards details.
After that on the Console Dashboard, at the right top side of the screen you will see an option to activate the free trial of 1 year, just click on the Activate button to redeem it.
Step 2: Create A New Project on Google Cloud Platform
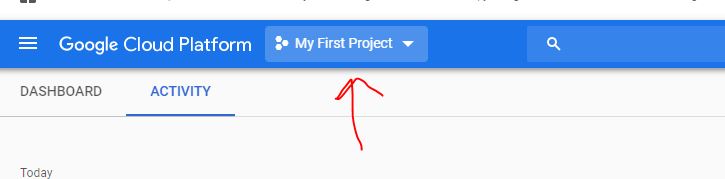
After registering, you will get redirected to GCP Console, where click on the My Project drop-down box, given on the left side at the top bar.
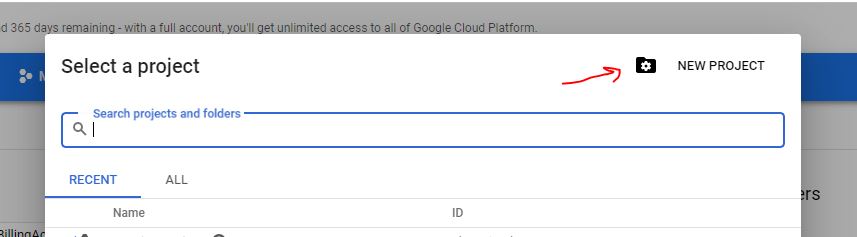
A pop-up window will open from where click on the option New project. In order to create a New project to install Discourse on Google Compute engine.
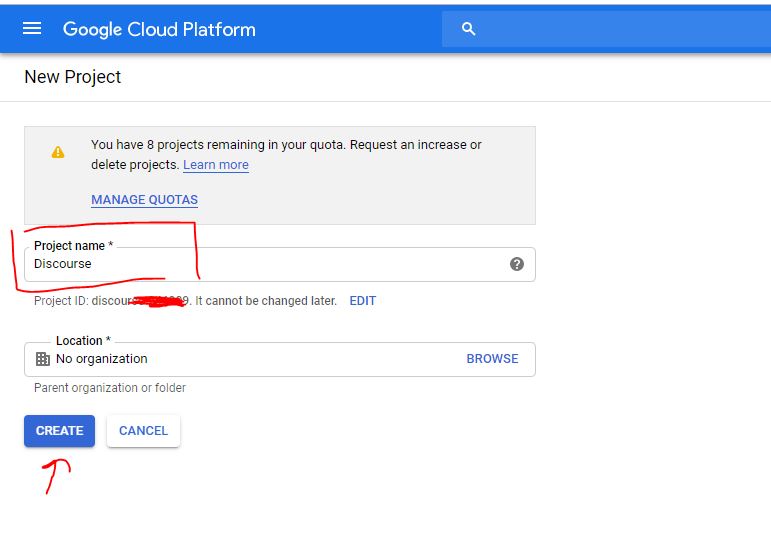
In the Next step, it will ask us to assign some name to your New project, so that you can easily remember it. By default, it names My First Project.
So, as we are taking about Discourse, thus I am here creating a Project name: Discourse, yes, indeed you can type whatever you want.
Click on the Next button.
Step 3: Create VM instance from Compute Engine
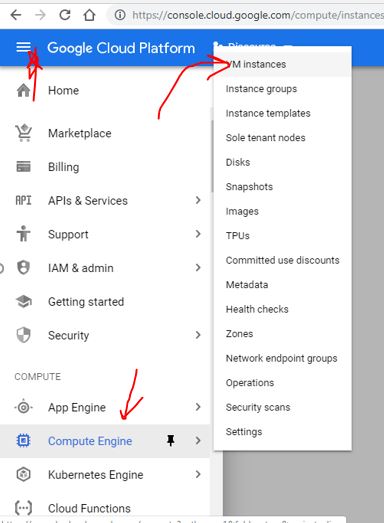
As we wanted to install a Discourse forum on Google Cloud, so for that we need a virtual Machine running with some Linux operating system. For that click on the burger icon given on the extreme top left side of the Google console and select another option Computing engine. When you click on it further options will be revealed and one of them will be VM instances. Select that.
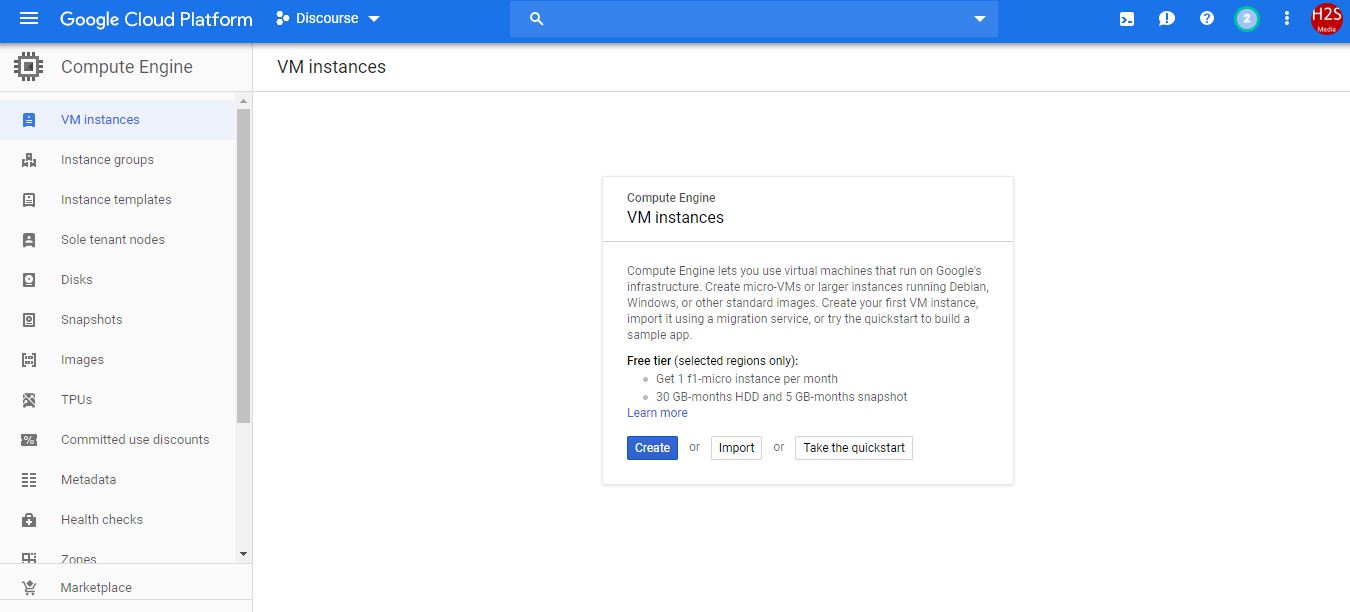
If you are first time creating an instance the Google cloud console automatically open the VM instance creator page, alternatively you can click on the option given on the top i.e CREATE INSTANCE.

As we are using it the first time, the Compute Engine has given us a direct option to create a VM instance, just click on the Create button.
Step 4: Select the Linux Distro for VM instance on GCP
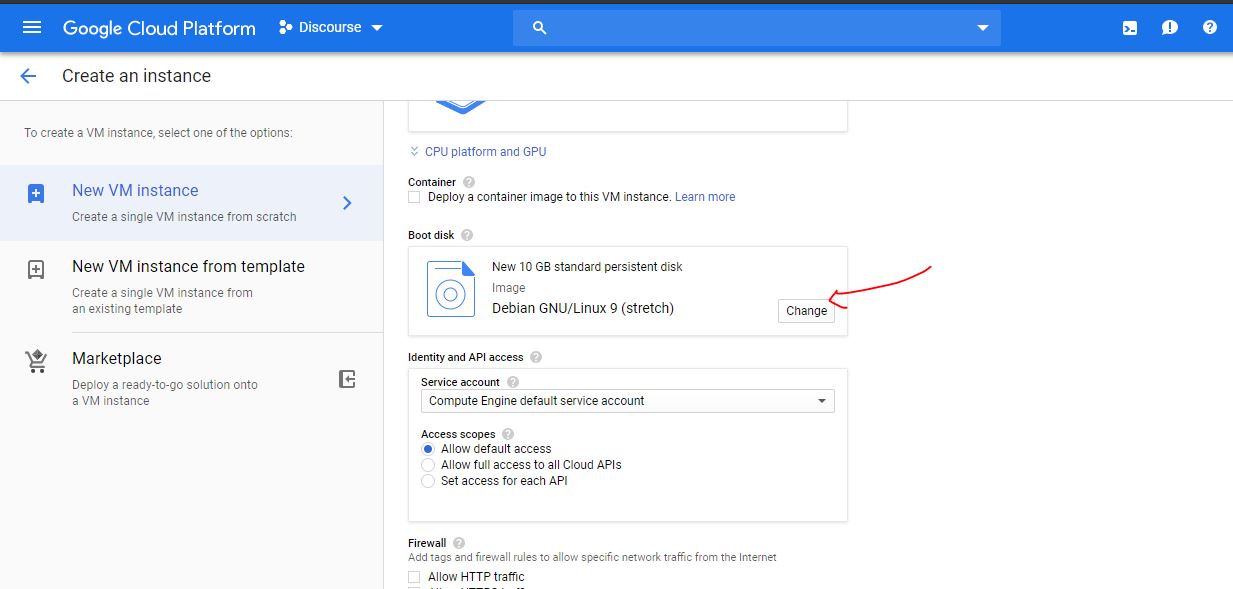
The page will open from where you can set the name of your instance, selection of options such as data centre region and zone, CPU and RAM along with Boot disk and security features. Leave them as default, scroll down and select an option Change given in the Book Disk section.
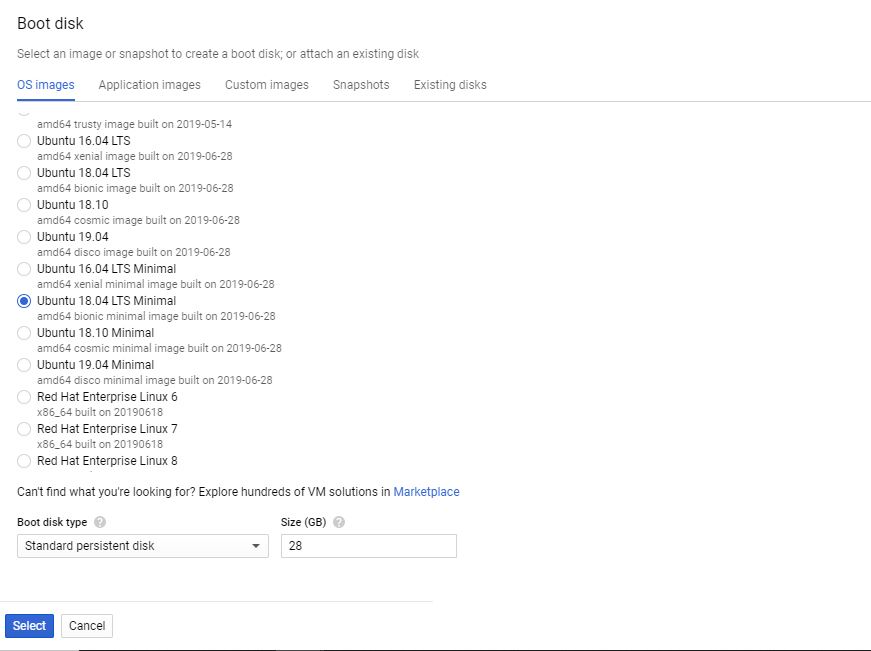
By Default, the Linux OS image will be the Debian, here we are opting the common one i.e Ubuntu 18.04 LTS Minimal. Choose that set Disk size and click on the Select button.
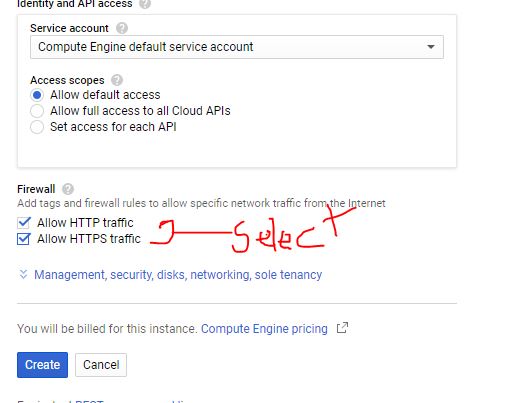
Next thing to check the two options given under the Firewall section:
- Allow HTTP traffic
- Allow HTTPS traffic
Check both of them and then click on the Create button. We have done this becuase by default all incoming traffic from outside a network is blocked. And allowing any one of them is utterly importing if we want to access our machine installed project from the outside world.
Step 5: Connect GCP VM instance using SSH
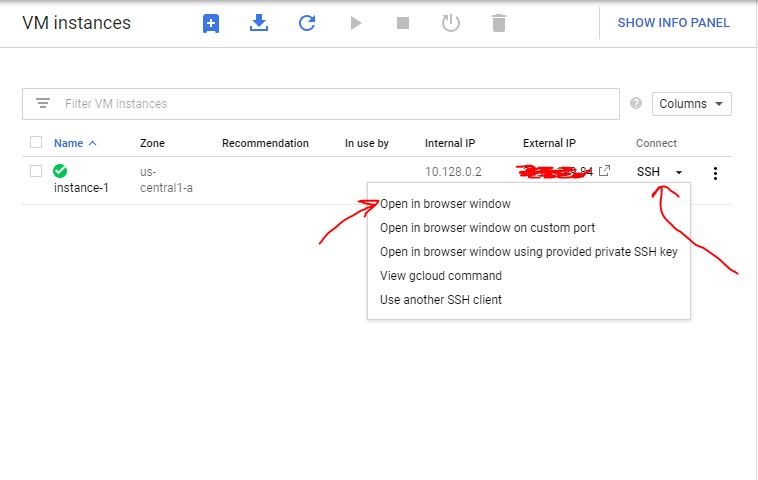
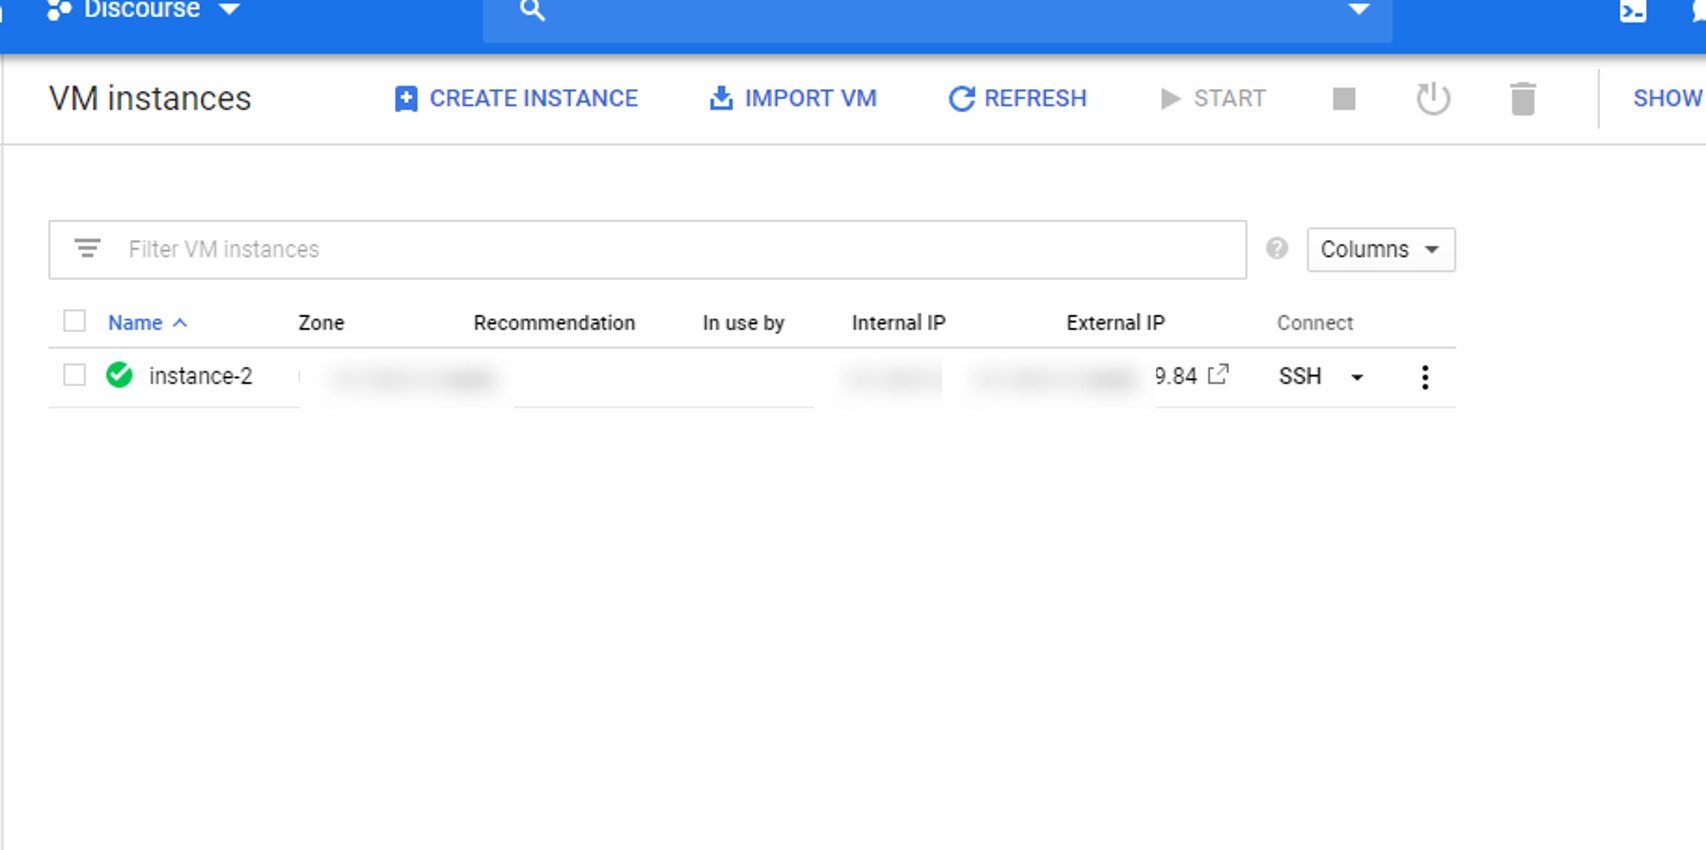
Finally, we will get our create instance under the VM instances section, now to connect the newly create Ubuntu Virtual machine on Google we use SSH. Click on the SSH and select an option Open in browser Window to install Docker and Discourse on Ubuntu 18.04 minimal.
Step 6: Update System
You will get a command line interface connected your Ubuntu VM instance running on Google Cloud via SSH. So, first, run the update and upgrade command. In case some packages have got some updates.
To emulate to root user, use the following command:
sudo -i

apt update

apt upgrade
Step 7: Install Docker on Google Cloud Compute Engine VM
First, install the extra packages to use the repository over to use a repository over HTTPS
-
apt-get install apt-transport-https
-
apt-get install ca-certificates
-
apt-get install curl
-
apt-get install gnupg-agent
-
apt-get install software-properties-common
Add Docker’s official GPG key:
To verify that the packages we are getting to install docker are from the genuine owner, add the following key
curl -fsSL https://download.docker.com/linux/ubuntu/gpg | sudo apt-key add -
Add Docker’s repository to download & install it
add-apt-repository "deb [arch=amd64] https://download.docker.com/linux/ubuntu $(lsb_release -cs) stable"
Update the System
apt update
Command to Install Docker on Ubuntu VM instance of Google
apt-get install docker-ce
Step 8: Installing Discourse on Ubuntu 18.04 of Google Cloud
First, we clone/download the official Docker image from Git in the newly created folder i.e /var/discourse
git clone https://github.com/discourse/discourse_docker.git /var/discourse
Switch to the /var/discourse folder
cd /var/discourse
Now, run the Discourse setup script:
./discourse-setup
Important things to setup:
Before starting up the installation process the setup will ask you for a couple of things:
- Hostname or Domain name [forum.example.com]- The domain which wants to use with your discourse forum that you have to type.
- Email Address for Admin account (s): Enter the email ID you want to use with your Discourse Administrator account. The email account you are about to use make sure you know the STMP address of that.
- SMTP server address? [smtp.example.com]
- SMTP port: 567
- SMTP password: Basically the password of email account
- Optional email address for settings up Let’s Encrypt (optional)- If you want a free SSL certificate for the forum then provide some email address that you can access.
The setup will again give you an overview of the data you provides. If it is fine, then press the Enter button to continue.
It will take a few seconds and you will see the Discourse is finally installed on your Google Cloud Computing platform’s VM instance.
Step 9: Point your Domain to Google Cloud Instance public IP address
Finally, the Discourse forum is installed but you still won’t be able to access it becuase it only works with a domain name, not with a naked IP address. Thus, we have to point our domain/subdomain to the public Ip address of the VM Instance we have created above in GCP.
I am pretty much sure that for the forum you are going to use a subdomain, so create it from hosting service where you have bought the main domain of your website. For example, our website name is how2shout.com and sub-domain we have created is forum.how2shout.com.
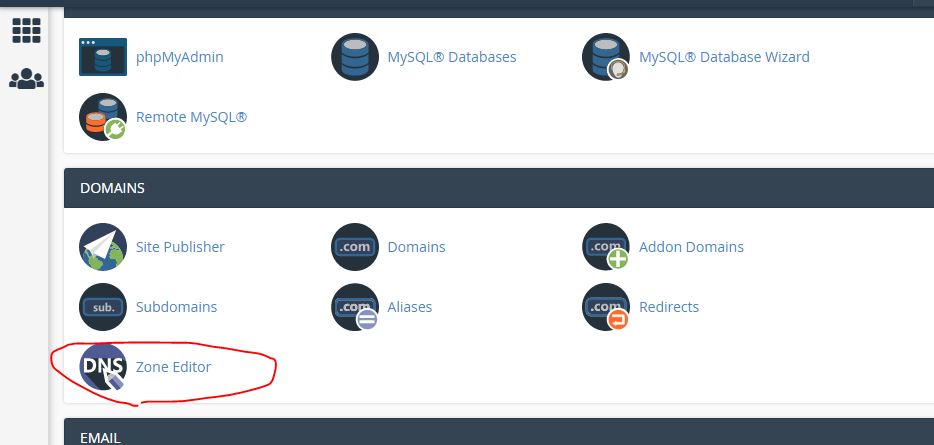
To point the sub-domain to Google Cloud VM public IP address go to your hosting service CPanel and click on Zone editor.
Select your main domain and click on the option +A Record.
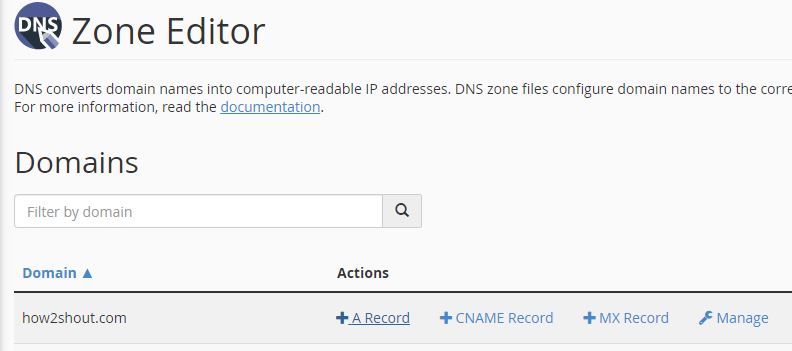
Now go to your Google Cloud VM Instance and copy the public IP address of that.
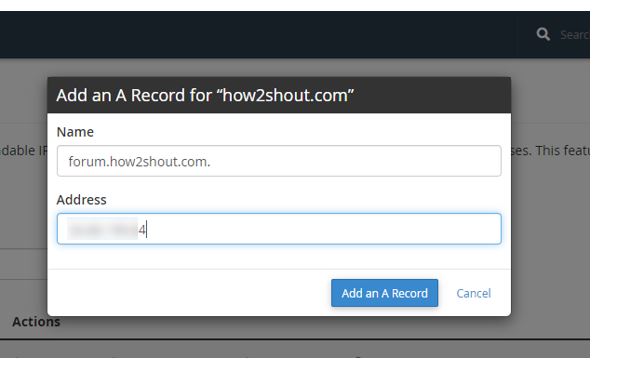
Again come back to Cpanel’s Zone editor and in the name column type your subdomain name and in Address column paste the public IP address you have copied of your GCP VM instance.
Finally, click on Add records.
A second way to do this
If you have dedicated DNS section in your Hosting service like Godaddy then simply go to DNS management and do the same thing. Add A-record sub-domain pointing to VM instance public IP address.
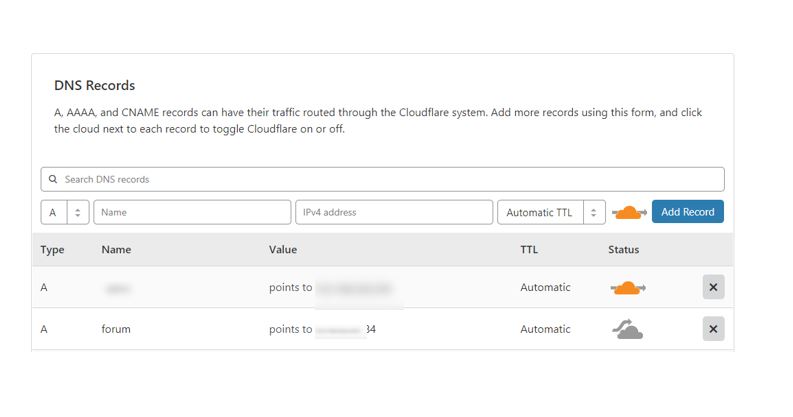
Cloudflare
If your DNS is managing by Cloudflare then go to its DNS section and Select A record, Under Name section type the prefix of your subdomain used for Discourse like forum.example.com; then you have to type the only forum. In value, enter the public IP address of your Google cloud Ubuntu VM instance.
Just wait for few minutes to an hour depending upon DNS updating your hosting/Domain service.
Step 10: Configure the Discourse Forum
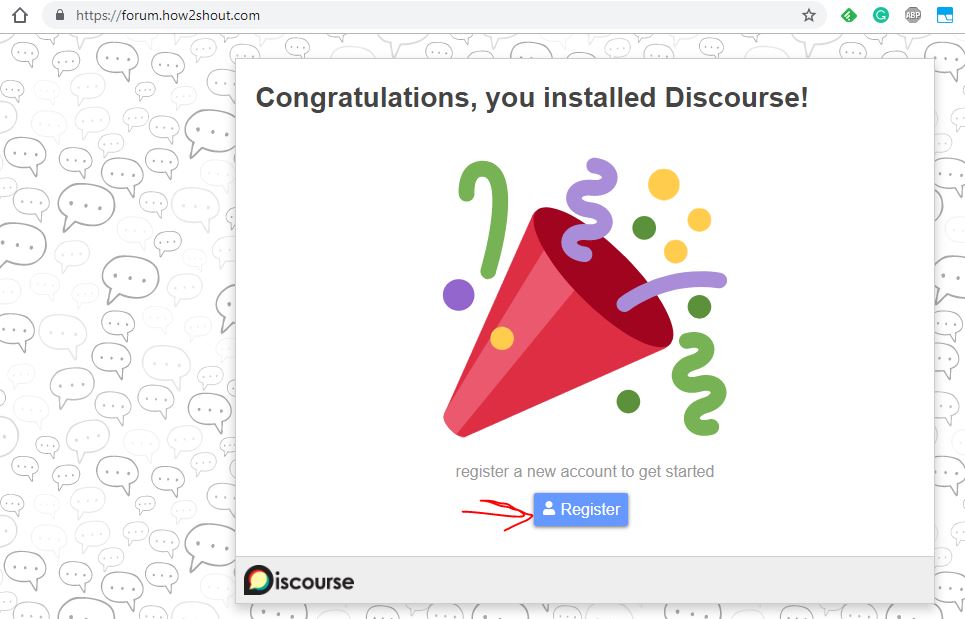
Finally, you will see, now it is possible to access the Discourse using the sub-domain address. Now to setup it, click on the Register. And follow the further guided steps of Discourse setup.
Step 11: Email configuration of Discourse
If you have used a subdomain with discourse then it won’t let you send a confirmation mail for stripped down or main domain email address. Thus to move forward with the installation we have to edit the app.yml file of the Discourse.
Go to command line SSH window of Google
nano /var/discourse/containers nano app/yml
Scroll to end of the file and find below-given lines
## If you want to set the 'From' email address for your first registration, uncomment and change:
#- exec: rails r "SiteSetting.notification_email='[email protected]'"
## After getting the first signup email, re-comment the line. It only needs to run once.
Remove the # tag or uncomment the middle one and add main your domain email address that you have used to set up with Discourse.
Note: You can also change all the mail and domain related settings using the app.yml file.
- exec: rails r "SiteSetting.notification_email='[email protected]'"
After editing press Ctrl+X and then type Y and Enter button save the configuration
Now, rebuild the Discourse App
cd /var/discourse/
./launcher rebuild app
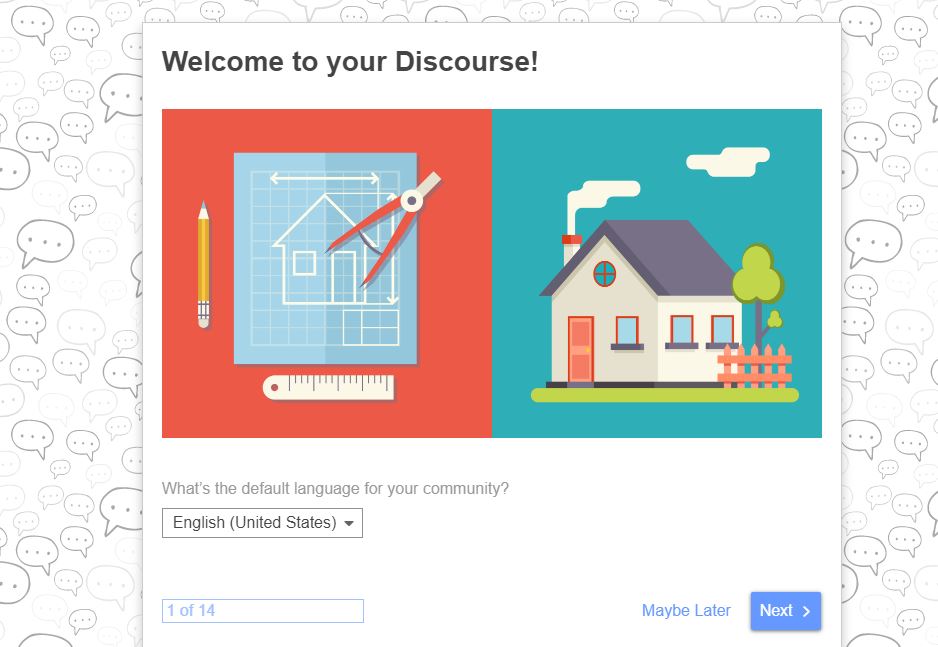
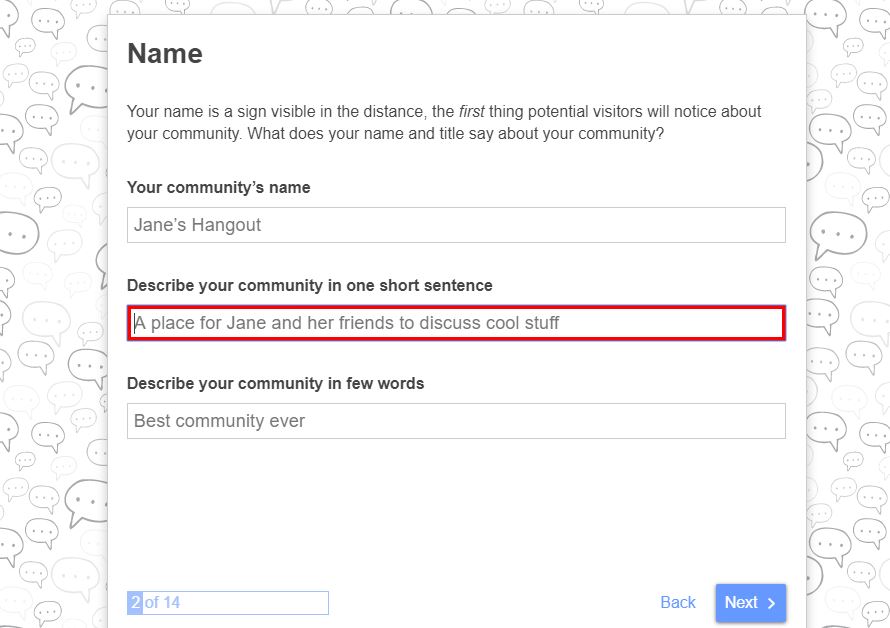
Again go to your forum web address in the browser and start setting up again using guided wizard.
Note: Once Everything has been set up, again go to app.yml file and comment the line which you edit above i.e
– exec: rails r “SiteSetting.notification_email=’[email protected]'”


Thank You Raj Kumar for a detailed article !! This still works in June 2020 :).It helped me setup yuva.bestroomies.com .The only change i made is use Mailgun for setting the smtp server.