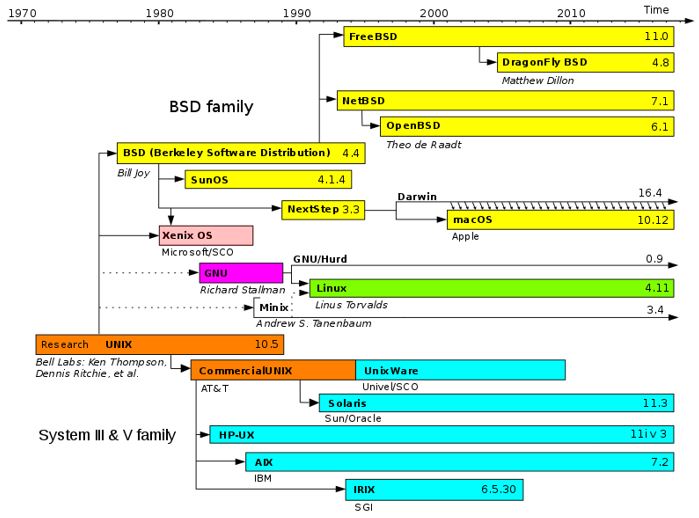
We are very well acquainted with Linux, however, when it comes to UNIX based operating system then most don’t know from where to download it. Just like Linux Distros Unix is also available under different names such as Oracle Solaris, OpenSolaris (Discontinued), FreeBSD, OpenBSD, NetBSD and DragonflyBSD. There is quite a confusion between Unix and open source Unix-like operating systems such as Linux. Unix like OS also refer as UN*X or *nix OS are those behaved like UNIX OS following its standardization, basically, they derived from UNIX and sometimes developed as free and open source or proprietary. UNIX was developed at Bell Labs in Manhattan.
Now, What is Solaris?
Solaris is a SPARC (Scalable Processor Architecture) operating system based on UNIX and primarily developed by Sun Microsystem as a superior version to replace their earlier OS called SunOS. However, later in 2010, Oracle has accessed Sun Microsystem and till today Solaris is developed and maintained by Oracle under Oracle Solaris project. It is not completely open source and comes with some proprietary components means few parts are open source to the public and rest of closed such as Solaris kernel source code which apparently becomes closed source after Solaris 11. Well, Oracle Solaris latest version is 11.4 and available on Oracle website published approx. 9 months ago, still, there are some speculations on the Oracle’s Solaris roadmap i.e whether they will continue the development of it or not. However, there is no official news on it yet.
Coming, to the main agenda of this article is how to downloads Oracle Solaris ISO or VM(OVA) to install on VirtualBox Virtual Machine.
Solaris Operating system installation on VirtualBox VM
Will show steps to install the Oracle version of Solaris and where to download it in both ISO and VM image formats. Also, the steps will be the same for Windows 10/7, Linux and MacOS for Solaris UNIX installation using Virtualbox.
Step 1: Download Oracle Solaris OS in ISO or VM (ova) image format
As I said this operating system is maintained by Oracle, thus we have to visit their website.
Here is the link: Visit Oracle website
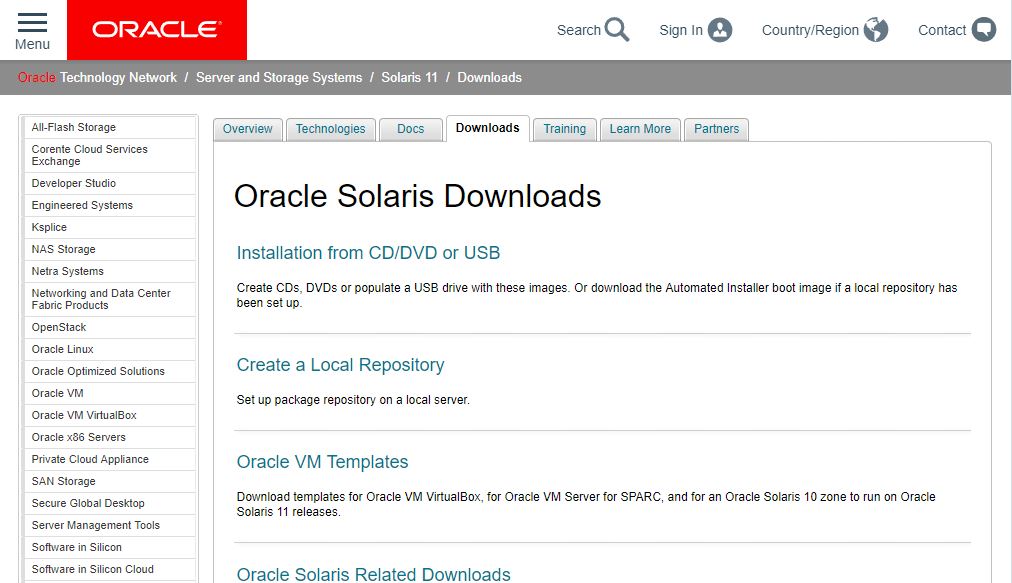
When the page will open, under the Downloads tab you will see different options to download Solaris OS.
One is the Installation from CD/DV or USB. When you click this link on the page, Solaris ISO file will get downloaded. Go for Oracle Solaris 11.4 Text Installer X86 base for normal PC, Laptop or Virtual machine installation.
Another one is Oracle VM Templates, where the latest pre-built Virtual images for Oracle VirtualBox, Oracle VM Server for SPARC and Oracle Solaris 10 Zone are available to download.
Apart from this, you can also download older versions ISO files of this UNIX operating system from here.
Note: For Virtualization, VM templates are recommended.
Once click any of the above options, a page will open, where you have to accept terms and conditions to download it. Plus to download the site will ask you to login with Oracle account if you have then used that otherwise create one. It is free of cost.
Step 2: Create VM for Solaris on VirtualBox
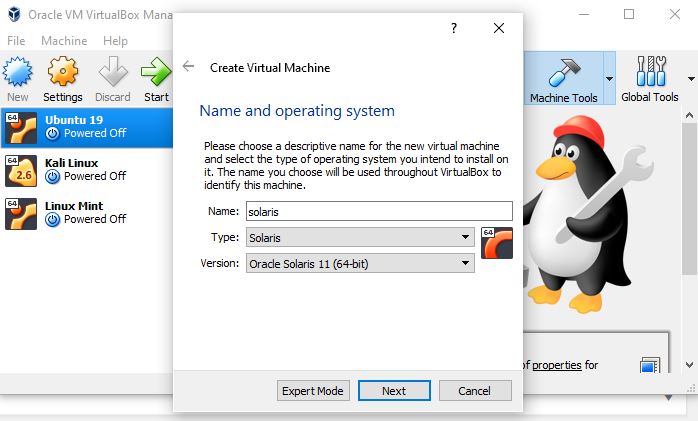
If you have downloaded ISO image of this UNIX OS then you can simply go to the VirtualBox, click on New button from the menu and type Solaris in the Name section. As you type it, the VirtualBox automatically set the rest of the options. However, as we are installing the latest version of Solaris i.e 11.4, so from the Version drop-down box select Oracle Solaris 11 (64 bit). Click on the Next button.
Step 3: Assign Memory and Hard disk
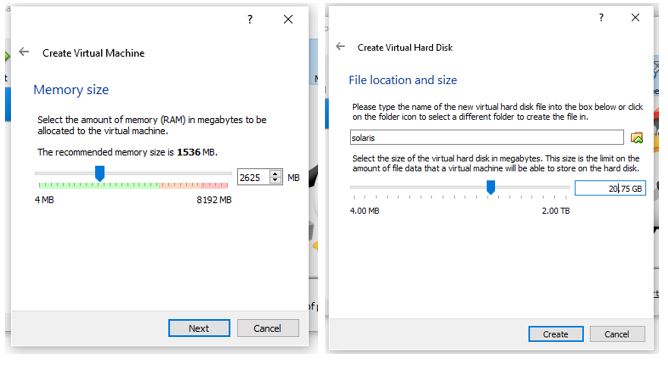
Now, in the next guided steps, you get options to assign RAM and Hard disk space for the operating system; Set RAM to minimum 2GB and Minimum 20GB of Virtual Hard disk storage. Note: Leave all the other options to its default while assigning RAM and Storage Space.
Step 4: Set Solaris ISO as a boot medium for VirtualBox’s VM
To use the downloaded bootable image of this UNIX OS in VirtualBox, first, select the recent created Solaris Virtual Machine that appears on the left side of the VB and then click on the Settings gear icon.
Now select Storage->Empty CD icon-> again click on CD icon given under the Attributes and finally select Virtual Optical Disk file. It will open explorer of Windows, Linux or MacOS where you are using VirtualBox and then select the ISO image. Finally, Click on the OK button.
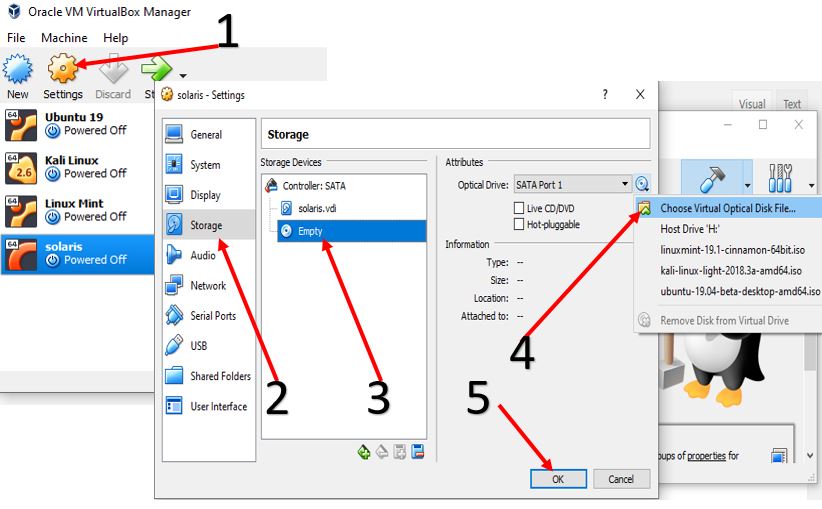
After all above steps, finally, click on the START button given in the VB menu to start virtual machine booting process.
Step 5: Import Oracle Solaris 11 VM for Oracle VM VirtualBox (optional step)
As we said at the beginning of the article that the operating the system is available in both ISO and VM image format, well above we have shown how to use its ISO image and here we are going to use the VM template.
Well, if you just want to use this OS only on Virtualization environment then VM templates are recommended. We have also used it to show this article.
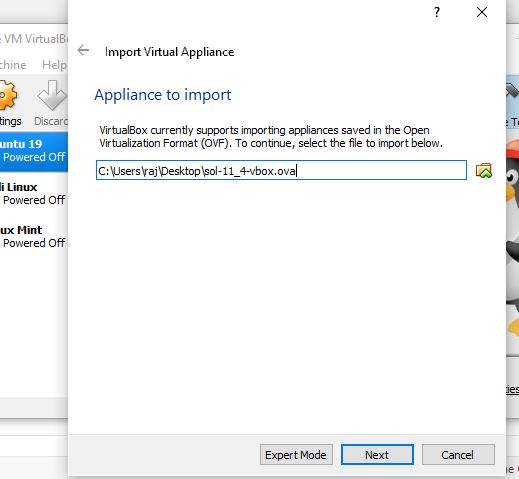
After downloading VM image in OVA format go to VirtualBox, click on File menu->select Import Appliances and Import Virtual Appliance or the OVA image of the OS.
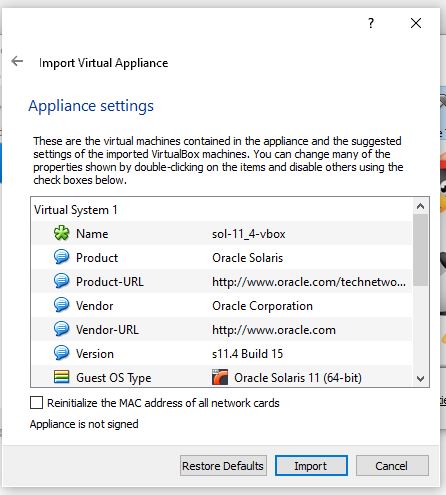
All the settings for the Virtual Machine have already been done by the Oracle for us. So, what we have to do is just a click on the Import button.
To start Solaris Virtual Machine select it from the left side panel and click on the Start button.
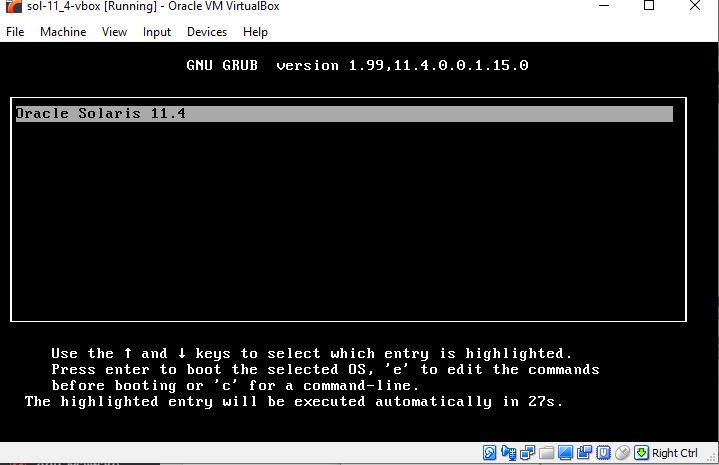
Step 6: Boot Virtual Machine
If everything goes well you will see the Grub boot menu, press the Enter button.
Step 7: System Configuration
Some information about what are we about configure would show, press F2 to continue the installation process.

Give some name to your computer and then F2 button.

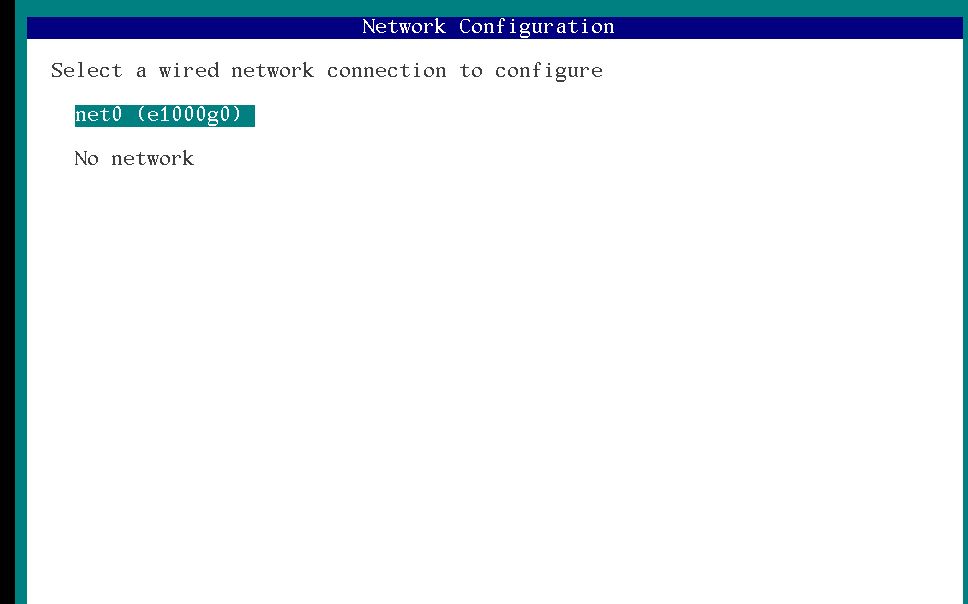
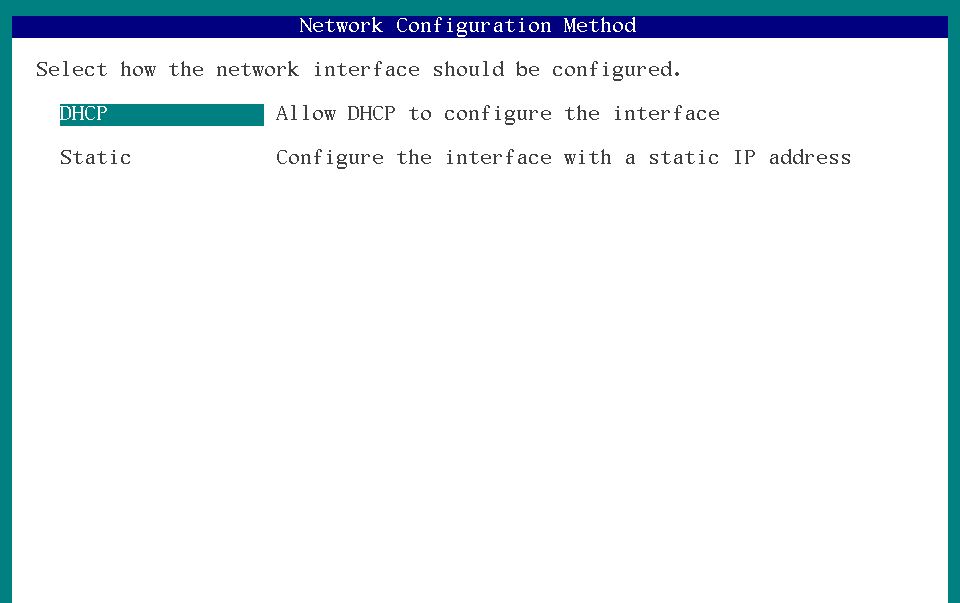
Select the available network connection to configure and press F2.
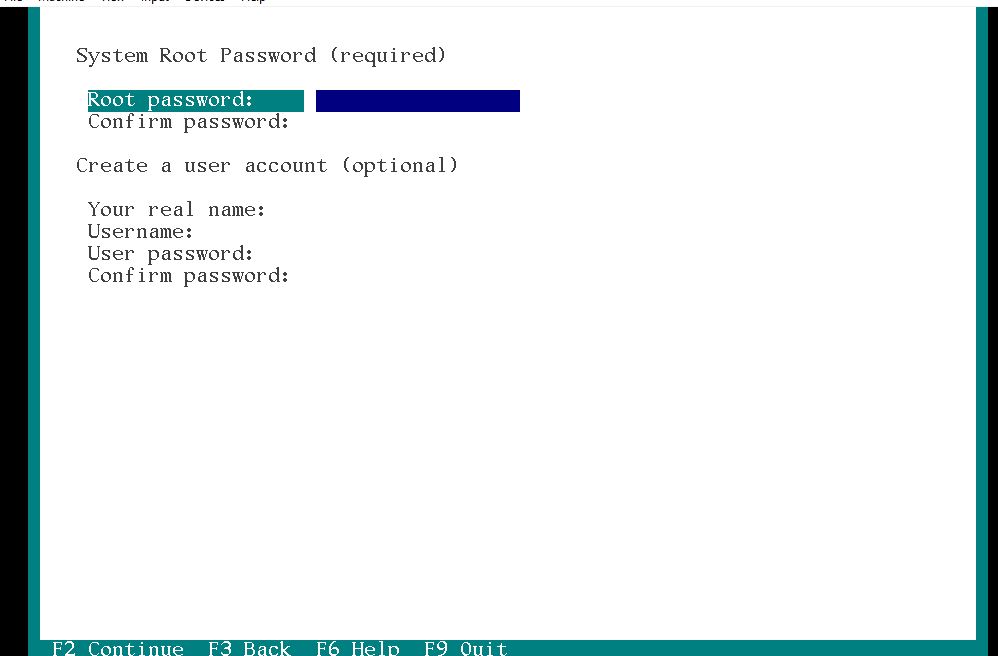
Step 7: System Root Password
Assign some System password to that will use to access the Solaris as the root user.
In the next step add your email and Password of Oracle Support account to get informed on security updates otherwise skip it using F2 Key.
At the last of the guided steps of the installer review the configuration you made and press F2 to implement them all.
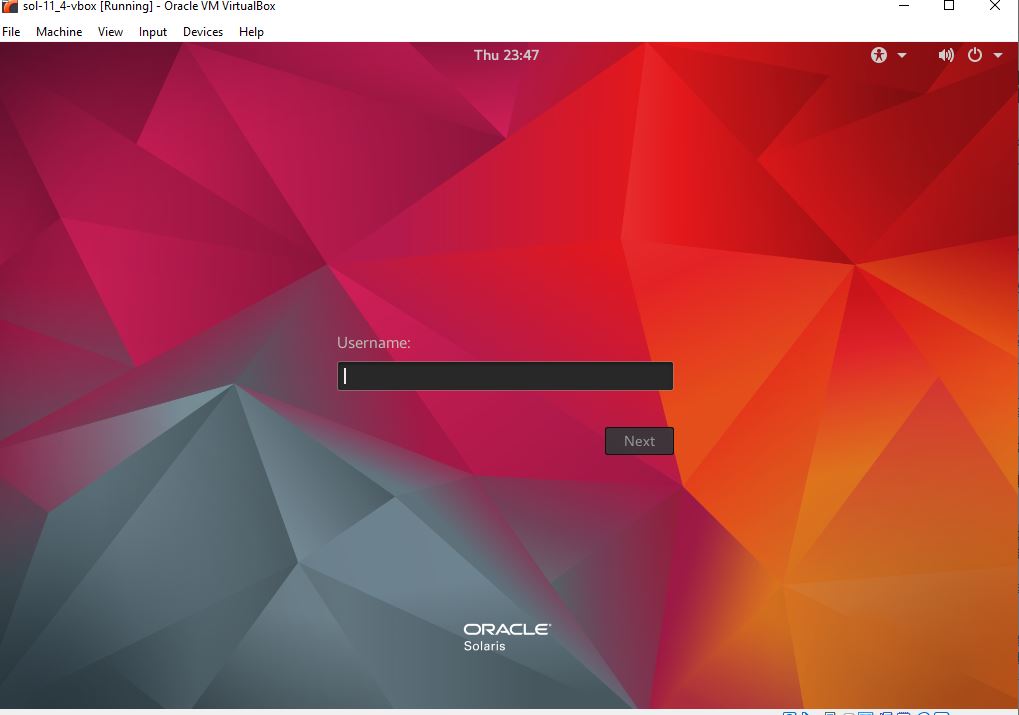
Step 8: Login to OS
Use username as root and password is what you have created above and enter them to log in.
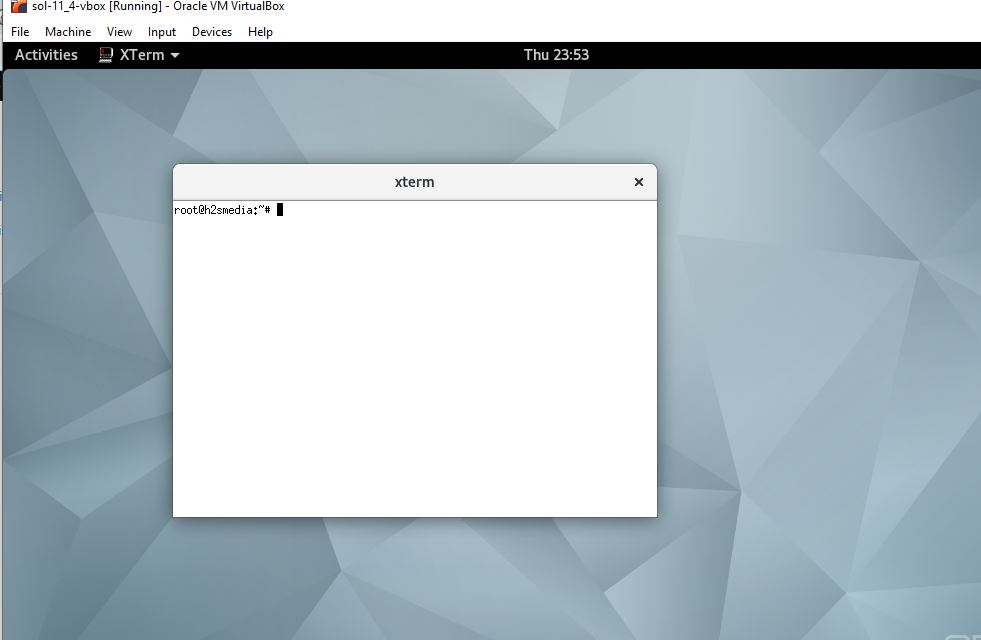
Step 9: Beautiful Solaris Gnome interface
After login, you will see the clean Gnome interface and now start using it to learn curves of UNIX OS.
Other Articles to See:
Related Posts
How to Reopen Closed Windows or Tabs in Firefox
How to Install Django on Windows 11 or 10
How to set Gemini by Google as the default Android assistant
How to create data bars in Microsoft Excel for numeric values
How to open HEIC images on Windows for free
How to install Server Manager Windows 11 or 10